
Graphiques d’identité
Overview
Le graphique d’identité est un outil visuel qui aide les élèves à prendre en compte les multiples facteurs qui font de nous ce que nous sommes, en tant qu’individu ou en tant que communauté. On s’en sert pour mieux se connaître soi-même ou approfondir sa compréhension de groupes, de nations, de personnalités historiques ou de personnages de fiction. Lorsque les élèves montrent leur graphique d’identité à leurs condisciples, cela peut aider à créer des liens et à démonter les stéréotypes. C’est donc un bon outil pour créer un sentiment d’appartenance au sein de la classe.

Procedure
Étapes de la mise en œuvre
Variations
Remote Learning
Exemple
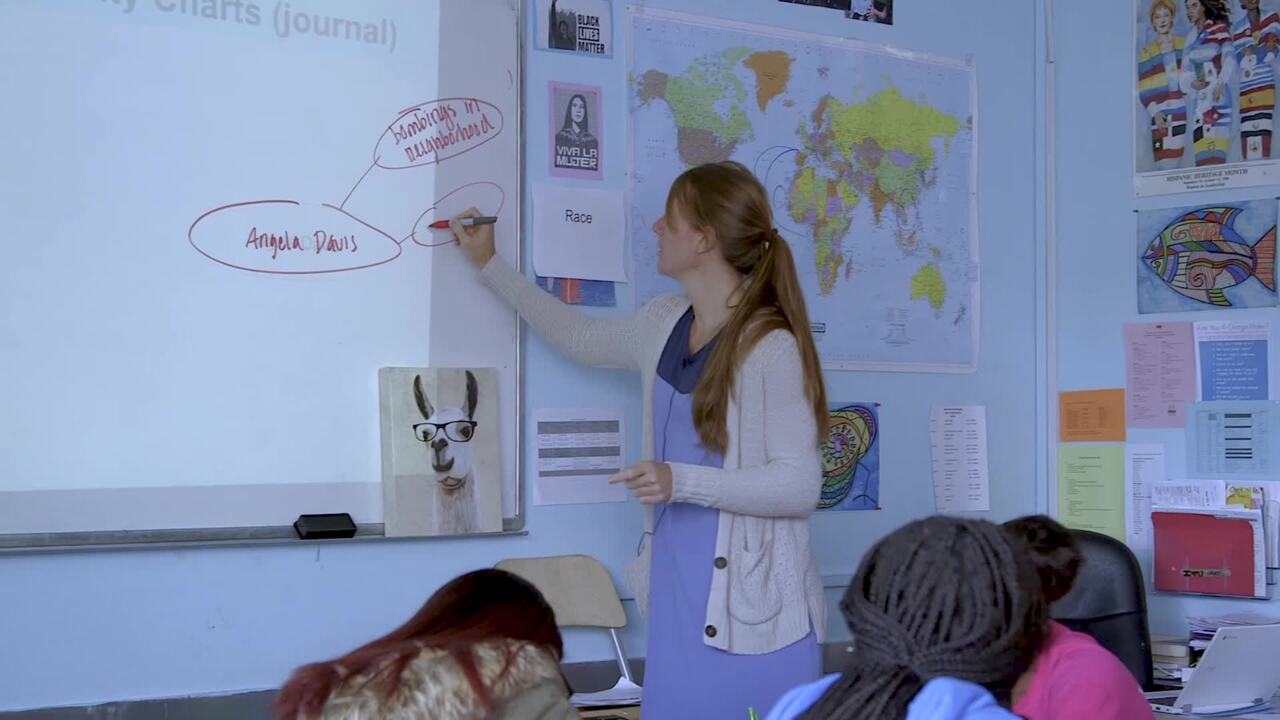
An identity chart is a diagram that individuals fill in with words and phrases they use to describe themselves as well as the labels that society gives them.
An identity chart is a diagram that individuals fill in with words and phrases they use to describe themselves as well as the labels that society gives them.
Identity Chart Template

Starburst Identity Chart

Inside-Out Identity Chart


You might also be interested in…
Mood Meter

Three Good Things

Slow Down with The Slowdown

Take a Stand

Appreciation, Apology, Aha

Closing Challenge

Looking Back, Looking Ahead

Our Names and Our Place in the World

Making Meaning of Community


Emoji Emotions


Unlimited Access to Learning. More Added Every Month.
Facing History & Ourselves is designed for educators who want to help students explore identity, think critically, grow emotionally, act ethically, and participate in civic life. It’s hard work, so we’ve developed some go-to professional learning opportunities to help you along the way.
Exploring ELA Text Selection with Julia Torres
On-Demand

Working for Justice, Equity and Civic Agency in Our Schools: A Conversation with Clint Smith
On-Demand

Centering Student Voices to Build Community and Agency
On-Demand
